在 VPS(VULTR) 上部屬 NestJS + PostgreSQL
- April 5, 2023

本文詳細介紹如何將 NestJS + PostgreSQL 的 side project 從 GCP 移至 VPS 虛擬主機 - Vultr,並探討 Docker 的使用和部署策略。從 Dockerizing 專案、網域設定,到在 Vultr VPS 上的部署步驟,提供完整的指南和參考資源,助您輕鬆完成部署。
原由
最近寫了一個 NestJS + PostgreSQL 的 side project,原先使用 GCP 上的 Cloud Run + Cloud SQL,但後來發現 Cloud SQL 的計價是以小時的,不是像其他 App Engine 等服務是照用量計價,導致我才開一兩天價格就爆表,因此最終決定將專案移至 VPS 虛擬主機上,經比較及調查最終決定使用 Vultr,一個月只要 6 美金就很夠用。
Dockerizing 專案
- 新增
.dockerignore檔案
# Git.git.gitignore
# Docker.dockerDockerfile.dockerignore
# Nodenode_modulesnpm-debug.logdist.env.*- 新增
Dockerfile
FROM node:lts-alpine# Create app directoryWORKDIR /appEXPOSE 3000

# A wildcard is used to ensure both package.json AND package-lock.json are copiedCOPY package.json ./COPY pnpm-lock.yaml ./
# Install app dependenciesRUN npm i -g pnpmRUN pnpm install
# Bundle app sourceCOPY . .
# Creates a "dist" folder with the production buildRUN pnpm run build- 新增
docker-compose.yml裡面有多個容器, 以下簡易說明
- app 為我們的 NestJS 服務,因專案使用 googl 登入 故有
GOOGLE_CLIENT_ID等環境變數 - db 為 postgres 資料庫服務
- dbGUI 為 pgadmin 的 web 介面,詳細可參考 pgadmin-Container Deployment
- nginx 主要進行反向代理及 https 相關設定,使用 docker-nginx-certbot 自動申請證書
需要注意的是 環境變數相關建議使用 env_file,避免在 git 上留下任何紀錄,此文章方便紀錄先將大部分環境變數寫在 environment。
此外,透過 volumes 可以持久化我們的 db 數據及 證書。
version: '3.9'
services:  app:    build:      context: .    restart: always    ports:      - 3000:3000    volumes:      - ./src:/app/src    command: >      sh -c "pnpm run start:prod"    environment:      - DB_HOST=your_host      - DB_NAME=your_db_name      - DB_USERNAME=your_user_name      - DB_PASSWORD=your_db_password      - GOOGLE_CLIENT_ID=your_google_client_id      - GOOGLE_CLIENT_SECRET=your_google_client_secret    depends_on:      - db
  db:    image: postgres:13-alpine    restart: always    volumes:      - dev-db-data:/var/lib/postgresql/data    environment:      - POSTGRES_DB=your_db_name      - POSTGRES_USER=your_user_name      - POSTGRES_PASSWORD=your_db_password
  dbGUI:    container_name: 'pgadmin'    image: dpage/pgadmin4    restart: always    environment:      PGADMIN_DEFAULT_EMAIL: your_email      PGADMIN_DEFAULT_PASSWORD: your_password      PGADMIN_LISTEN_PORT: 16543    ports:      - '16543:16543'    depends_on:      - db
  nginx:    image: jonasal/nginx-certbot:latest    restart: unless-stopped    env_file:      - ./nginx-certbot.env    ports:      - 80:80      - 443:443    links:      - app      - dbGUI    volumes:      - nginx_secrets:/etc/letsencrypt      - ./user_conf.d:/etc/nginx/user_conf.d
volumes: dev-db-data: nginx_secrets:- 新增 user_conf.d/example_server.conf
由於要搭配 docker-nginx-certbot 申請證書,需要新增
user_conf.d資料夾及example_server.conf檔案,需將以下內容的yourdomain.example替換成自己的 domain,透過反向代理將後端 api 及 pgadmin 導至正確的 port,需要注意upstream內的app及dbGUI在docker-compose.yml中的nginxlinks內進行設定,其餘就依照需求進行 nginx 的設定
upstream backend {    server app:3000;}
upstream dbGUI {    server dbGUI:16543;}
server {    # Listen to port 443 on both IPv4 and IPv6.    listen 443 ssl default_server reuseport;    listen [::]:443 ssl default_server reuseport;
    # Domain names this server should respond to.    server_name yourdomain.example;
    # Load the certificate files.    ssl_certificate         /etc/letsencrypt/live/yourdomain.example/fullchain.pem;    ssl_certificate_key     /etc/letsencrypt/live/yourdomain.example/privkey.pem;    ssl_trusted_certificate /etc/letsencrypt/live/yourdomain.example/chain.pem;
    # Load the Diffie-Hellman parameter.    ssl_dhparam /etc/letsencrypt/dhparams/dhparam.pem;
    location ^~ /admin/ {        proxy_set_header X-Script-Name /admin;        proxy_set_header Host $host;        proxy_pass http://dbGUI/;        proxy_redirect off;    }
    location / {        proxy_pass http://backend/;    }}
申請及設定 Vultr VPS
- 註冊 Vultr 帳號
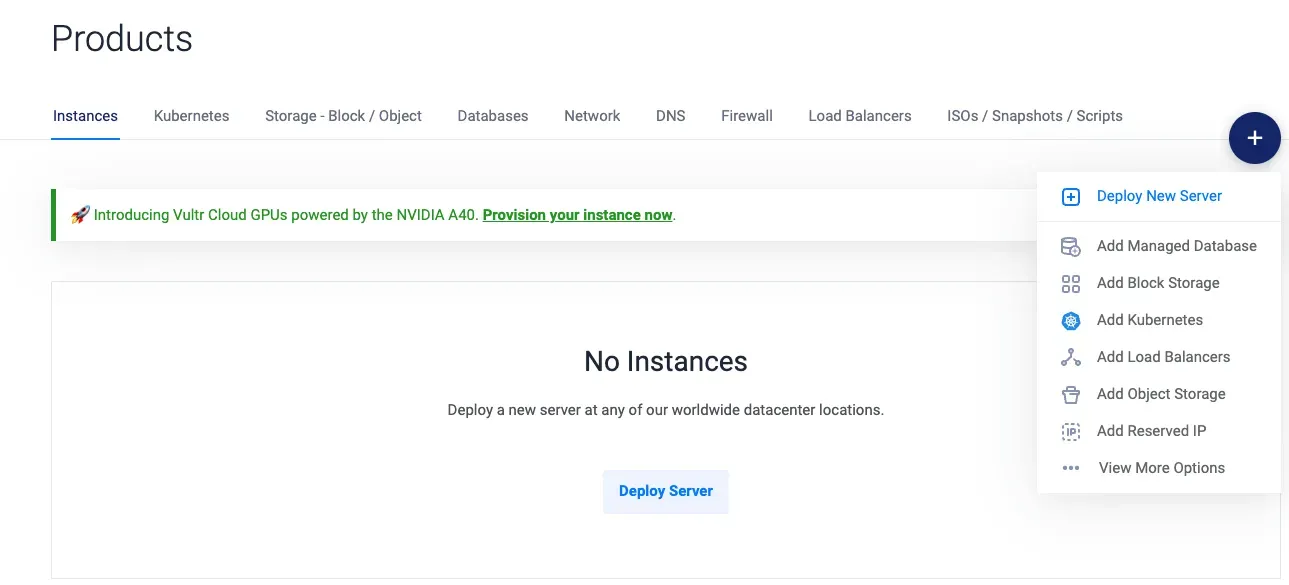
- 右上角點選藍色 + -> Deploy New Server
- 選擇 Cloud Compute 類型,其餘設定依據需求,這邊主機位置選擇
Singapore或Tokyo都差不多,依據個人測試為主 4. 完成之後透過 ssh 連進主機,可在專案Overview上看到 ip 及密碼
ssh root@yourip- 連進後進行防火牆設定
sudo ufw resetsudo ufw allow sshsudo ufw allow 80sudo ufw allow 443sudo ufw enable-
參考 docker-install 安裝 docker
-
在 Github 中的 Settings -> Deploy keys 新增 ssh key (方便主機 pull 專案)
-
在主機中 clone 專案並執行
git clone your_repocd your_repodocker compose up -d基本步驟就差不多完成了,之後就可以把相關流程寫進 Actions,方便快速部屬
參考文件
- Vultr
- Using Docker to containerize your Node.js application and serve it over HTTPS in the AWS Elastic Beanstalk
- Install Docker Engin on Ubuntu
- pgadmin-Container Deployment
- 利用 Docker 五分鐘內完成設定 Nginx 及 Let’s Encrypt SSL 憑證
- How to write a NestJS Dockerfile optimized for production
- How to Install and Configure Nginx on a Vultr Cloud Server